Maintenance
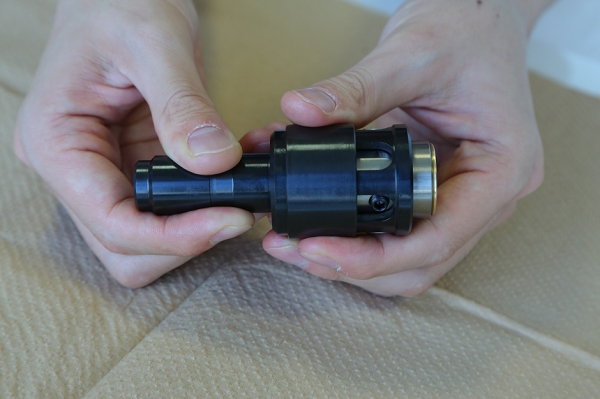
XEBEC Floating Holder™
FH-ST12-SL10
Schedule a regular maintenance of cleaning and greasing sliding parts to ensure smooth movements and functioning.
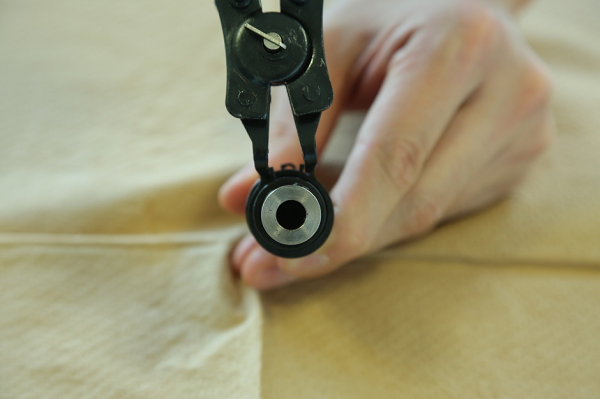
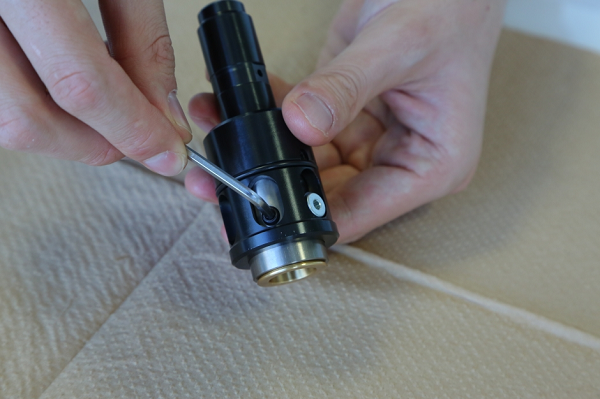
1. Remove the C-shaped retaining ring 2.
*Use the snap ring pliers for C type internal ring (C-shaped retaining ring size: 20mm).
2. Remove the steel ball cap ring retaining the steel balls and take out the steel balls from the main unit. (2 locations).
*Be careful not to lose the steel ball as it is small.
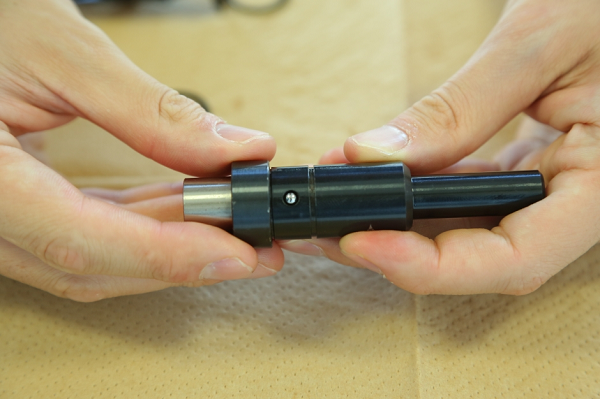
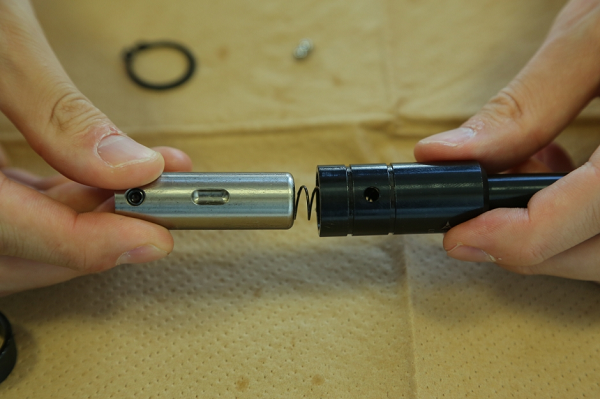
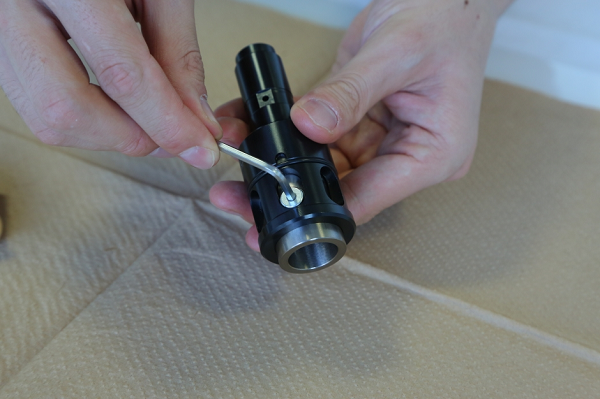
3. Remove the tool holding portion from the main unit and take out the spring.
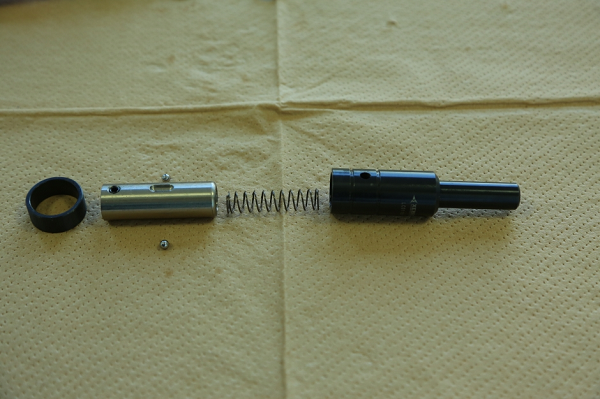
4. Take apart the main unit and wipe off the dirt inside the main unit and on the tool holding portion.
5. Sparingly apply grease to the sliding portion (tool holding portion), re-attach the spring and return the sliding portion to the main unit.
*Align the boat-shaped groove of the tool holding portion with the hole in the cap screw retaining the steel ball, which is on the main unit of the floating holder.
*Check that there is no dirt, etc. adhering within the tool holding portion or within the boat-shaped groove.
*Recommended grease: Lithium soap grease (NLGI Grade #2)
6. Insert the steel balls (2 locations), attach the steel ball cap ring retaining the steel balls, and then fit the C-shaped retaining ring 2 into the groove for this ring.
*Use only XEBEC specified steel balls. Dangerous operation failure or tool damage may otherwise occur.
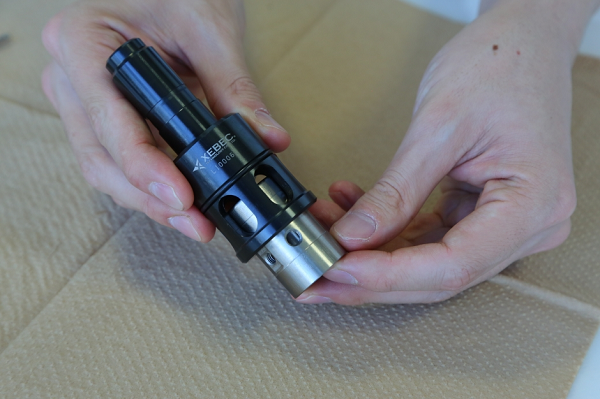
7. After assembling the parts, press bottom of tool holding portion with your fingers, and check to see that tool holding portion slides 6 mm.
*It is recommended to periodically carry out maintenance. The interval of maintenance varies depending on the frequency of operation.
*If you leave the floating holder unused for a long period of time, make sure to perform maintenance before storing the floating holder. Otherwise, the sliding portion may stick.
FH-ST20
Schedule a regular maintenance of cleaning and greasing sliding parts to ensure smooth movements and functioning.
1. Remove the cover ring.
2. Remove the set screws at 2 locations.
3. Remove the bush from the slider.
4. Remove the roller screw, collars and guide rollers at 2 locations.
5. Remove the slider from the body.
6. Remove the spring end washer and spring from the body.
7. Remove any dirt such as dust by washing removed components.
8. Apply a thin film of grease on the outer circumference of the slider and inner wall of the body.
*Too much grease may influence movement of the slider at low load.
*The outer circumference of the slider and inner wall of the body should be smoothened with a grinding film of about #5000 when they have any roughness due to scratching.
*Recommended grease : Lithium soap grease (NLGI#2)
9. Attach the spring washer, spring and slider to the body, and then attach the roller screws, collars and guider rollers (2 locations).
10. Attach the bush to the slider, and then set the set screw.
*The tool should be mounted after checking that location of the screw holes (2 locations) of the slider and D-cut section of the flange of the bush (2 locations) match each other. Tightening the set screw without sufficient matching may cause deformation of the bush, which could disable its usage.
* It is recommended to periodically carry out maintenance. The interval of maintenance varies depending on the frequency of operation.
* If you leave the floating holder unused for a long period of time, make sure to perform maintenance before storing the floating holder. Otherwise, the sliding portion may stick.
Related links